Why this matters
Solar installation isn't a single visit — it's a sequence of design, permitting, utility coordination, and physical work, and each stage has a real timeline that a homeowner should expect going in. Knowing the sequence helps you tell a well-run project from one that's cutting corners, and helps you plan around the parts of the process that are outside any installer's direct control, like utility interconnection approval.
Step 1: Site evaluation and roof assessment
A real evaluation includes your roof's age, material, and condition; your annual electric usage from utility bills; roof orientation and shading from trees or nearby structures; and your electrical panel's capacity. If your roof is aging or has an unresolved issue, this is the stage where that gets flagged — see our guide on solar and roof type if you have metal or tile roofing specifically.
Step 2: System design and proposal
Based on the site evaluation, you get a system design: panel count and placement, inverter type, expected production, and a written cost proposal. This is the stage to ask about equipment warranties, workmanship warranty length, and — if you're financing — the actual financing terms and who the lender is.
Step 3: Permitting and HOA approval
Your local building department has to approve the electrical and structural permit before installation, and if you're in an HOA community, architectural approval may be required as well. Florida law limits how much an HOA can restrict solar installation, but the approval step still typically needs to happen and can add time to the schedule. Permitting timelines vary significantly by city and county.
Step 4: Utility interconnection application
Your utility (FPL, Duke Energy Florida, or TECO depending on your service area) has to approve the interconnection agreement that allows your system to connect to the grid and participate in net metering. This application is typically submitted once permits are approved and can run in parallel with scheduling the physical install in some cases, though the system generally cannot be turned on until interconnection is approved.
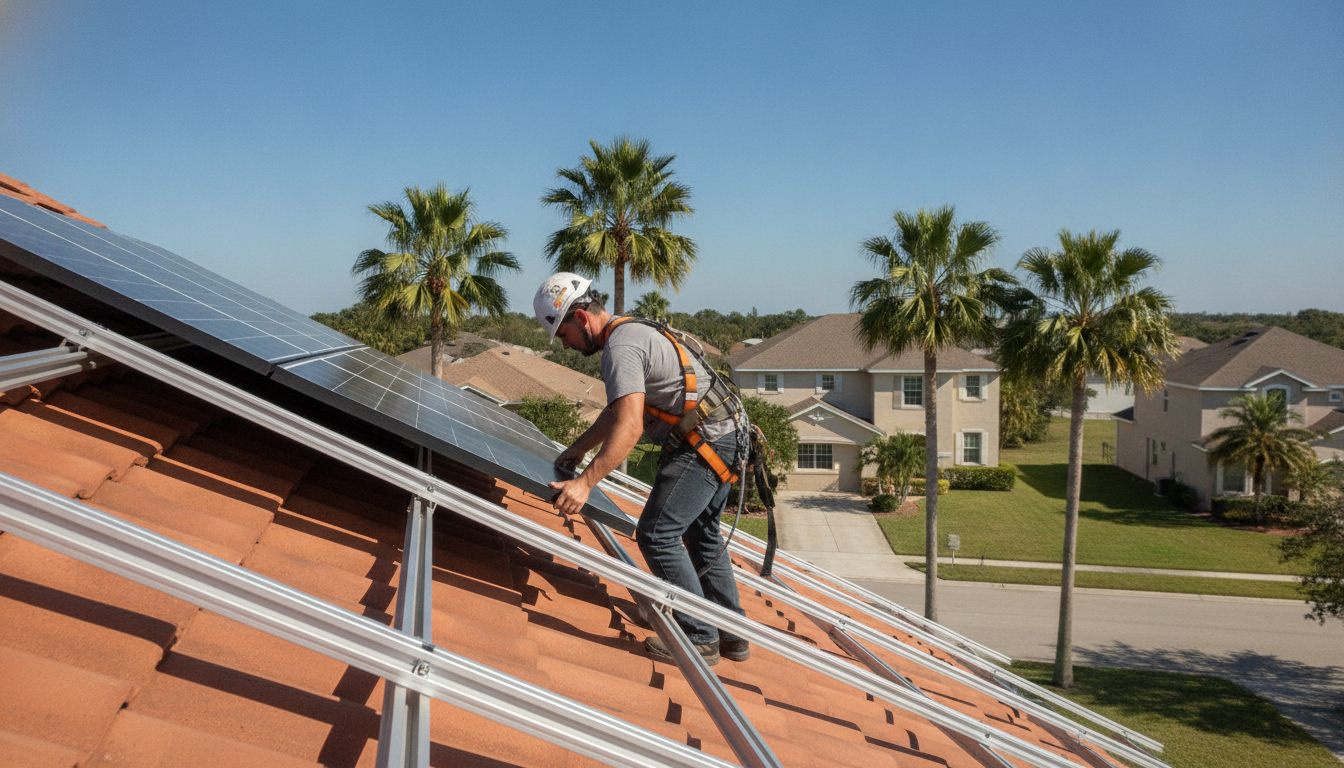
Step 5: Physical installation
This is the part most people picture: racking and mounting hardware installed on the roof (specific to your roof type — shingle, tile, or metal), panels mounted and wired, inverter and electrical connections completed, and a new production meter or metering equipment installed if required. A typical residential install itself — the on-roof work — is usually completed in one to a few days depending on system size and roof complexity, though that's separate from the permitting and interconnection timeline around it.
Step 6: Inspection and permission to operate
After installation, the local building department performs a final electrical inspection, and the utility issues final "permission to operate" (PTO) once interconnection is confirmed. The system is not legally supposed to produce power to the grid until PTO is granted, even if it's physically installed and wired.
Step 7: System activation and monitoring setup
Once PTO is granted, the system is switched on and monitoring is set up so you can track production, usually through a manufacturer's app. This is also when you should confirm net metering is correctly set up on your utility account.
What can slow the process down
- An aging roof that needs work identified during the site evaluation.
- HOA architectural review delays.
- Permitting backlogs at busy times of year, especially post-hurricane-season.
- Utility interconnection queue times, which are outside any installer's control.
- Electrical panel upgrades needed to safely support the new system.
Recommended next step
Because Crownline evaluates the roof and the solar system in the same visit, roof-related delays get identified at step 1 instead of surfacing mid-project.
Request a Free Solar Estimate