Why this matters
Insurance claims are decided on paper — photos, notes, dates, and written scopes — not on how bad the roof looked in person on the day of the storm. Thin or disorganized documentation is one of the most common, avoidable reasons a claim moves slowly or gets underpaid. Good documentation doesn't guarantee a specific outcome; the insurance carrier still makes the coverage decision. But it gives that decision the best chance of reflecting the actual damage.
Photograph and video systematically, not randomly
Work section by section rather than snapping random shots:
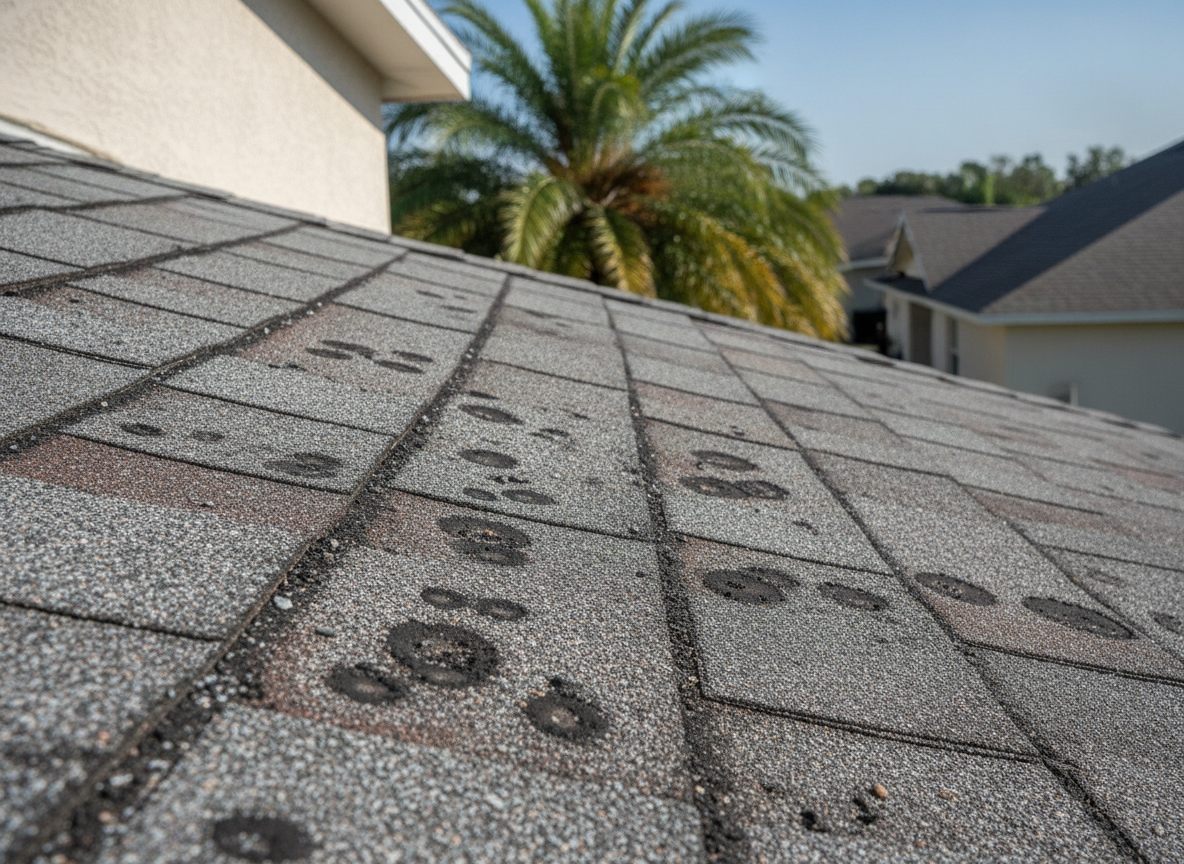
- Wide shots first. Each roof slope from the ground, showing the full plane so context is clear.
- Close-ups second. Individual damaged shingles, tiles, or panels — cracks, missing pieces, punctures, granule loss, lifted tabs.
- Interior evidence. Ceiling stains, attic water intrusion, insulation damage — anywhere water entered after the roof was breached.
- Corroborating exterior damage. Damaged screens, fencing, gutters, and downspouts help establish the force of the storm in your specific location.
- Video walkthroughs. A slow, narrated video walking the perimeter and each roof plane captures context that individual photos can miss.
Timestamp everything — most phone cameras embed this automatically, but confirm your device's date/time settings are correct before you start.
Keep a written log alongside the photos
Photos without context are harder to use. Keep a simple written log noting:
- The date of the storm/loss event.
- The date each set of photos was taken.
- A plain description of each damaged area (e.g., "missing shingles, southwest slope, approximately 6x4 ft area").
- Any temporary/emergency repairs made, when, by whom, and the cost.
- Names and dates of anyone who inspected the roof — your contractor, the adjuster, or anyone else.
Get a professional inspection and written scope
A licensed roofing contractor's documentation typically goes further than homeowner photos alone — identifying damage that isn't obvious from the ground, checking decking condition, and producing a written scope of repair that lines up with how insurers typically evaluate claims. This is different from a public adjuster's role: a contractor documents and scopes the physical repair; a public adjuster, if you choose to hire one, represents your interests in the claim itself. See our guide to that distinction.
Organize before you need it
Store photos, videos, receipts, and your written log together — a single cloud folder or email thread works well — so everything is easy to hand off to your insurer, your contractor, or (if needed) a public adjuster or attorney without digging through a phone's camera roll under time pressure.
Recommended next step
Pair this documentation checklist with our adjuster-visit prep guide and our full claim filing guide for the complete process.
Request a Free Inspection